Ever scrolled through Instagram or K-beauty hashtags and stopped mid-scroll because someone’s skin looked literally like glass? That luminous, poreless, almost translucent finish is what skincare junkies now call “glass skin.” While the look often feels like an elusive fantasy, the truth is—it can be achieved at home. This glass-skin DIY face mask taps into time-tested ingredients and a smart layering technique to help you glow without blowing up your budget. Whether you’re prepping for a big event or just want to upgrade your skincare game, this glass skin DIY is your ticket to dewy, radiant skin.
What Is Glass Skin?
Glass skin refers to a Korean skincare trend where your face appears intensely hydrated, ultra-smooth, and so reflective, it resembles a sheet of glass. It’s not about makeup—it’s about next-level skin health.
This look is achieved through consistent layering of hydrating products and gentle exfoliation, but one shortcut that’s gaining traction is the glass skin DIY mask—a weekly glow booster made from kitchen or low-cost skincare ingredients.
What Are the Benefits of a DIY Glass Skin Face Mask?
Creating your own glass skin mask allows for personalization and affordability without compromising on results. Here’s why it’s worth a try:
- Deep hydration: Boosts moisture retention, giving skin that plump, juicy look.
- Gentle exfoliation: Removes dull skin for better light reflection.
- Soothes inflammation: Ideal for sensitive, acne-prone skin.
- Brightens skin tone: Natural ingredients like rice water or honey support even complexion.
- No harsh chemicals: Cleaner and safer for regular use.
How to Make a DIY Glass Skin Face Mask at Home
Step-by-step tutorial using simple ingredients you likely already own:
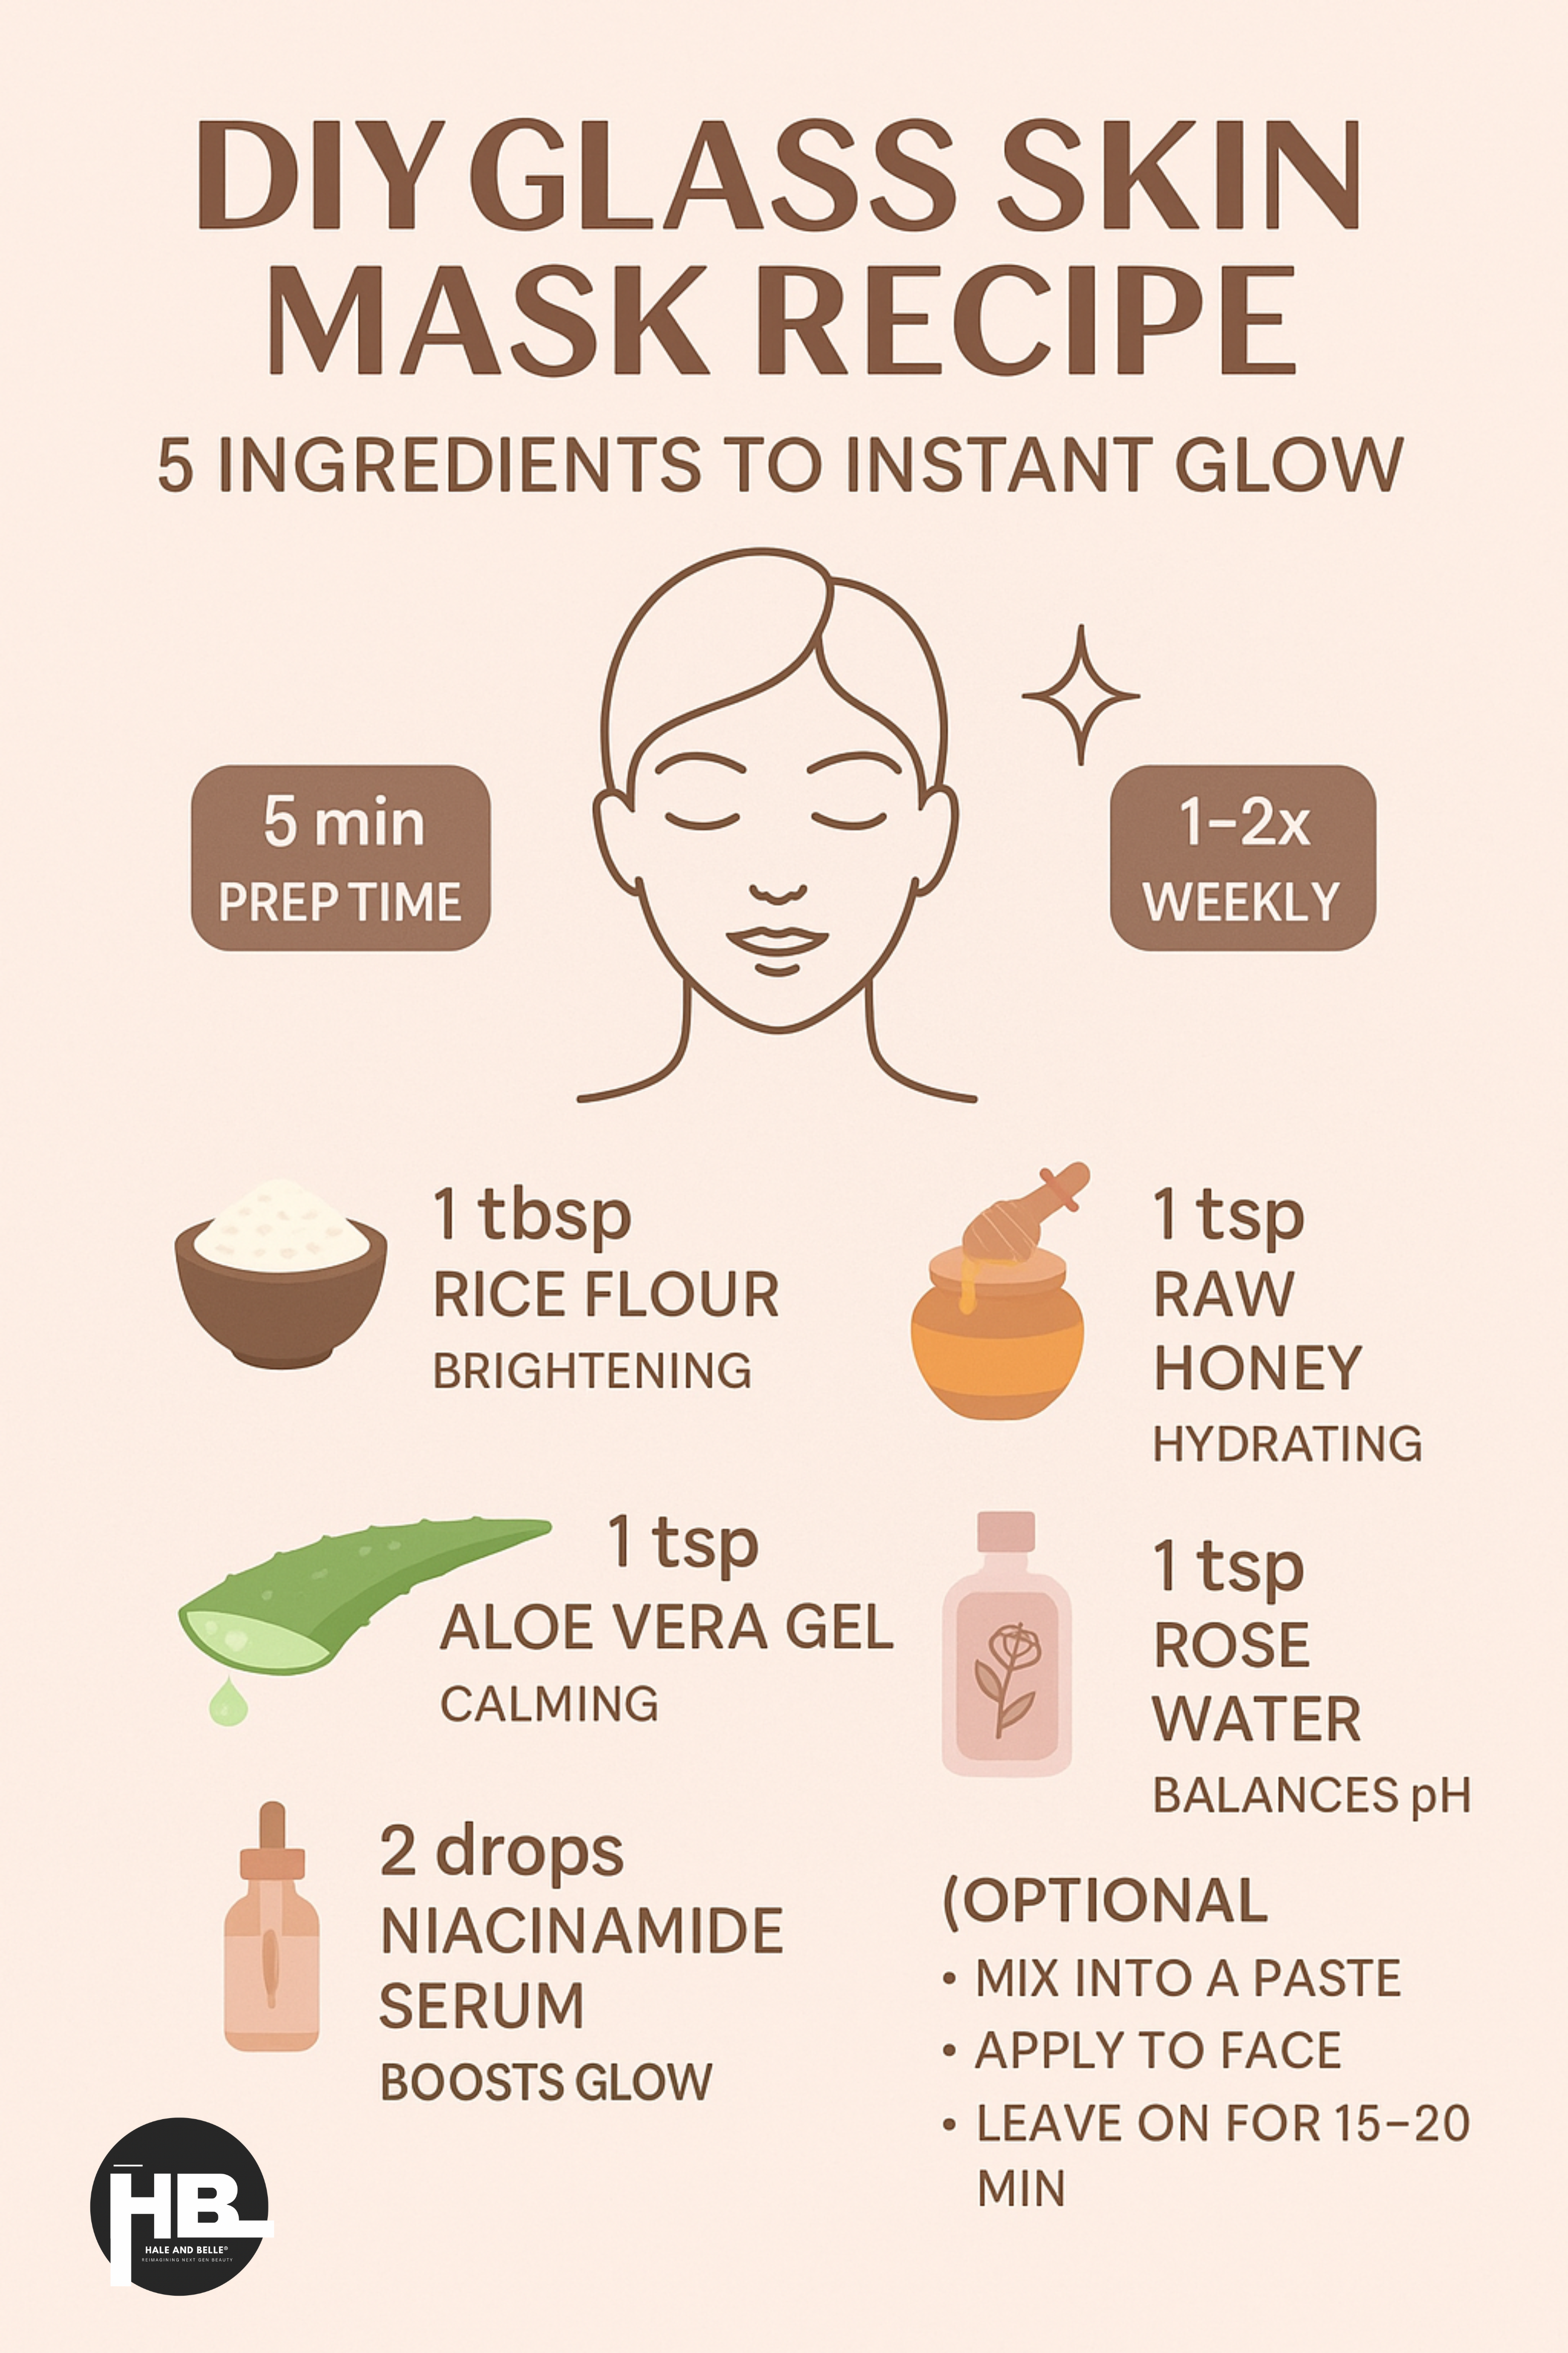
Ingredients:
- 1 tbsp rice flour (brightening + oil control)
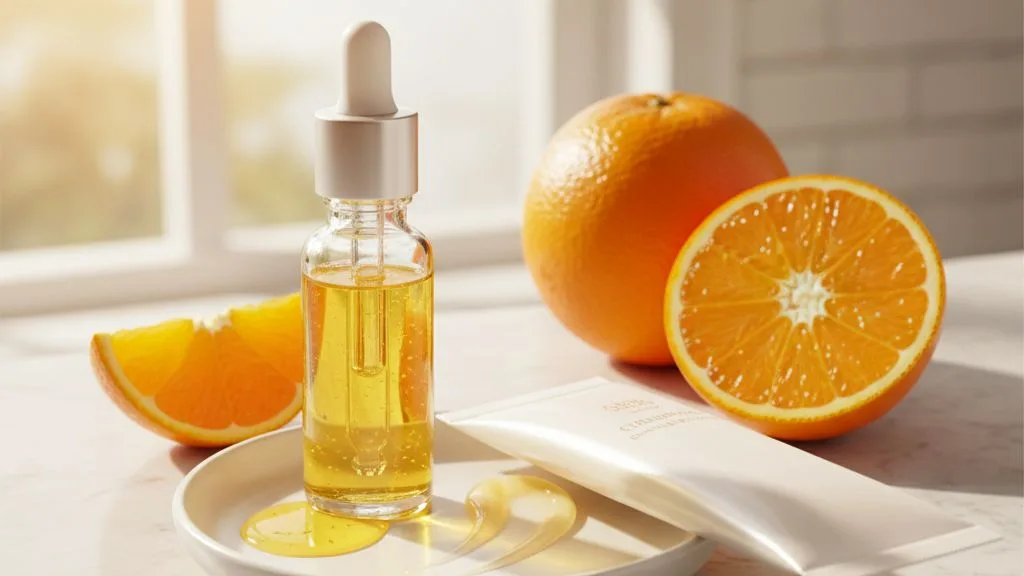
- 1 tsp raw honey (hydrating + antibacterial)
- 1 tsp aloe vera gel (calming + moisture boost)
- 1 tsp rose water (balances pH and refreshes)
- Optional: 2 drops niacinamide serum (if you’re using actives)
Tip: Use organic or cold-pressed ingredients for best results.
How to Use:
- Thoroughly mix the ingredients to create a smooth, uniform paste.
- Cleanse your face with a mild face wash to ensure optimal absorption.
- Apply the mask evenly using a soft brush or fingers.
- Let it sit for 15–20 minutes (do not let it dry completely).
- Rinse off with lukewarm water and follow with your usual toner and moisturizer.
Repeat 1–2 times a week for consistent results.
Best Store-Bought Products to Complement Your DIY
While DIY is effective, pairing it with a solid routine elevates your results. Here are some product picks to monetize and support user engagement:
| Product | Benefit | Availability on Nykaa |
|---|---|---|
| Isntree Hyaluronic Acid Toner | Deep hydration post-mask | Shop here |
| COSRX Snail Mucin Essence | Locks in moisture for that glow | Shop here |
| The Face Shop Rice Water Bright Cleanser | Ideal prep before the mask | Shop here |
| Beauty of Joseon Glow Serum | Lightweight glow-enhancing serum | Shop here |
Pro Tips and Precautions
Want longer-lasting glass skin results?
- Exfoliate gently twice a week using PHA or lactic acid.
- Layer light hydrating products (toner > essence > serum > moisturizer > SPF).
Safety Notes:
- Always do a patch test before applying a new DIY mix.
- Avoid mixing strong actives (like retinol or AHAs) on mask days.
- Sensitive skin? Omit rice flour and stick to aloe + honey + rose water.
Explore More on Hale and Belle:
- Top 10 Korean Beauty Secrets for Glowing Skin
- How Fermented Rice Water Is Different from Regular Rice Water
- Glass Skin Routine for Beginners
Takeaway The Glass Skin Glow Is Now in Your Hands
There’s something deeply satisfying about creating your own skincare from scratch—especially when it delivers visible glow. This glass skin DIY mask brings together powerhouse natural ingredients to hydrate, soothe, and brighten your complexion. Make it part of your weekly routine and watch your skin transform, naturally.
Visual Guide:
Try it out and tag @haleandbelle on Instagram!
Have questions? Drop them in the comments below or share your before-after experience using the hashtag #haleandbelleglow
Want the latest scoop, exclusive deals, and skincare secrets? Follow us on WhatsApp and never miss a glow-up moment!